Developer Guide
Wasm Shell (wash) is the comprehensive command-line tool for developing, building, and publishing WebAssembly components.
In this guide, you'll learn how to:
- Create a new WebAssembly component project in Rust, Go (TinyGo), or JavaScript (TypeScript)
- Start a development loop for your component project
- Compile your project to a WebAssembly component binary
- Publish your component to an OCI registry
Prerequisites
This guide requires Wasm Shell (wash) and the language toolchain for your language of choice.
To get started:
Create a new component project
- Rust
- TinyGo
- TypeScript
- Other
Let's create a component that accepts an HTTP request and responds with "Hello from Rust!"
Use wash new to create a new component project from an example in a Git repository:
wash new https://github.com/wasmCloud/wasmCloud.git --name hello --subfolder examples/http-hello-worldThis command...
- Creates a new project named
hello... - Based on an example found in the
wasmCloud/wasmCloudGit repository... - In the subfolder
examples/http-hello-world
Let's create a component that accepts an HTTP request and responds with "Hello from Go!"
Use wash new to create a new component project from a template:
wash new https://github.com/wasmCloud/wasmCloud.git --name hello --subfolder examples/tinygo/components/http-hello-worldThis command...
- Creates a new project named
hello... - Based on a template found in the
wasmCloud/wasmCloudGit repository... - In the subfolder
examples/tinygo/components/http-hello-world
Let's create a component that accepts an HTTP request and responds with "Hello from TypeScript!"
Use wash new to create a new component project from a template:
wash new https://github.com/wasmCloud/typescript.git --name hello --subfolder templates/http-hello-world-hono --git-ref v2This command...
- Creates a new project named
hello... - Based on a template found in the
wasmCloud/typescriptGit repository... - In the subfolder
templates/http-hello-world-honoon thev2branch
We're looking to add more examples in languages that support Wasm components. If you prefer working in a language that isn't listed here, let us know!
Navigate to the new hello directory and take a look at the generated project.
cd helloAnatomy of a component project
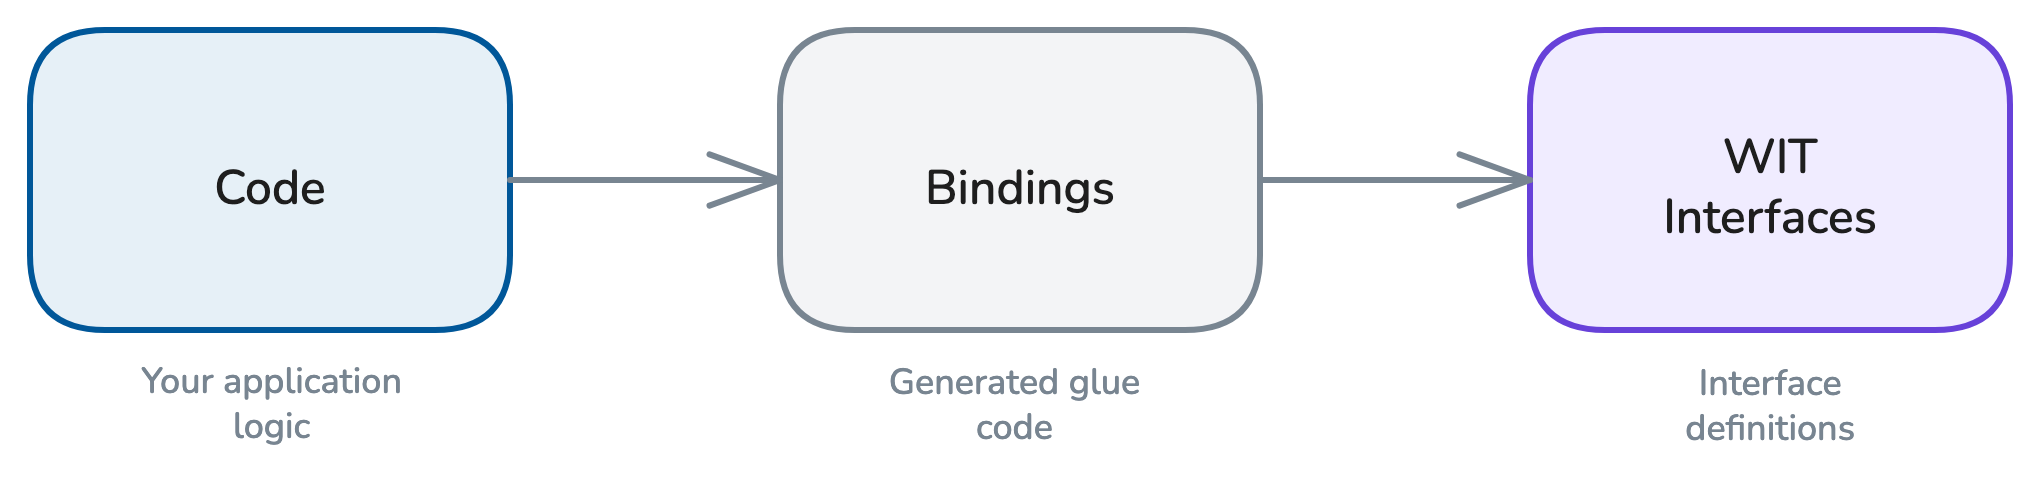
Component projects are made up of three primary parts:
- Application code in your language of choice
- Interfaces: language-agnostic APIs that enable components to interact
- Bindings that translate your interfaces to the language of your application code
Interfaces
Interfaces are APIs written in WebAssembly Interface Type (WIT). The WIT files (.wit) that make up an interface are typically stored in a /wit folder at the root of a project.
Interfaces define contracts between entities that ultimately express a piece of functionality in terms of imports and exports:
- Imports express a dependency: "I need another entity to fulfill this functionality."
- Exports express a function exposed to other entities: "I can take care of this functionality."
For example, a component exporting on an HTTP Incoming Handler interface is exposing a function with an assertion that it can handle incoming HTTP requests.
By contrast, a component importing a Key-Value Storage interface is expressing that it requires another entity to expose key-value functionality on the same interface.
The WebAssembly System Interface (WASI) is a group of standards-track interface specifications under development by the WASI Subgroup in the W3C WebAssembly Community Group. WASI interfaces provide standard, namespaced APIs for common functionality, such as wasi:http.
We'll be using wasi:http throughout the rest of this tutorial.
Note: In the definitions above, "entities" often means other WebAssembly components, but not always—any piece of software could theoretically interact over a WIT interface, and common imports like wasi:io or wasi:logging are often fulfilled by WebAssembly runtime environments.
- Learn more about WebAssembly Interface Type (WIT) in the Component Model documentation.
- Learn more about the WebAssembly System Interface (WASI) at WASI.dev.
Bindings
Interfaces defined in WIT are language-agnostic, so they must be translated to a given language via bindings.
Bindings are generated a bit differently across different languages, but ultimately wash and the underlying language toolchain will handle binding generation automatically when you run wash dev or wash build.
If you use an IDE that comes with code completion and hover-tooltips, you'll be able to see documentation and get strongly-typed guidance as you develop code to interact with WASI interfaces and language-specific bindings. For more Wasm developer tooling, see Useful WebAssembly Tools.
Explore the code
A component's imports and exports are defined in a WIT world. You can find this project's WIT world at ./wit/world.wit:
package wasmcloud:hello;

world hello {
   export wasi:http/incoming-handler@0.2.2;
}
This component exports on one interface: wasi:http/incoming-handler. This means it can only interact with other entities by handling incoming HTTP requests, according to contracts defined in v0.2.2 of the wasi:http interface.
It also means that the component must export on this interface in order to compile successfully.
Now let's take a look at the application code.
- Rust
- TinyGo
- TypeScript
- Other
The file src/lib.rs imports the wstd crate and consists of three simple async functions. We'll walk through these sections in detail.
use wstd::http::{Body, Request, Response, StatusCode};The wstd crate is an async Rust standard library for Wasm components and WASI 0.2 hosted by the Bytecode Alliance. Importing wstd means that we can use wstd::http rather than working directly with Rust bindings of the wasi:http interface.
You do not need to use wstd to build components with Rust, but it is standard ecosystem tooling that can help simplify development. This example will work directly with any WebAssembly runtime that supports the Wasm Component Model.
Whenever an incoming HTTP request is received, the main function returns a response depending on whether the endpoint is / or not found.
#[wstd::http_server]
async fn main(req: Request<Body>) -> Result<Response<Body>, wstd::http::Error> {
    match req.uri().path_and_query().unwrap().as_str() {
        "/" => home(req).await,
        _ => not_found(req).await,
    }
}

async fn home(_req: Request<Body>) -> Result<Response<Body>, wstd::http::Error> {
    // Return a simple response with a string body
    Ok(Response::new("Hello from wasmCloud!\n".into()))
}

async fn not_found(_req: Request<Body>) -> Result<Response<Body>, wstd::http::Error> {
    Ok(Response::builder()
        .status(StatusCode::NOT_FOUND)
        .body("Not found\n".into())
        .unwrap())
}
Within the home and not_found functions, the application creates appropriate responses, and the component returns those responses back to the requesting HTTP client (such as a curl command or a web browser).
The file main.go includes imports, init and handleRequest functions, and an empty main function.
We'll walk through these pieces in depth.
//go:generate go tool wit-bindgen-go generate --world hello --out gen ./wit

package main

import (
	"fmt"
	"net/http"

	"go.wasmcloud.dev/component/net/wasihttp"
)

func init() {
	// Register the handleRequest function as the handler for all incoming requests.
	wasihttp.HandleFunc(handleRequest)
}

func handleRequest(w http.ResponseWriter, r *http.Request) {
	fmt.Fprintf(w, "Hello from Go!\n")
}

// Since we don't run this program like a CLI, the `main` function is empty. Instead,
// we call the `handleRequest` function when an HTTP request is received.
func main() {}- The Go directive at the very top ensures that when we build our project with
tinygo build, thewit-bindgen-gotool will be run to generate the bindings for our component from thehelloWIT world found in the./witdirectory. Bindings will be generated in thegendirectory. - In the import section, we import Go's standard
fmtandnet/httplibraries. We also import thewasihttppackage, which provides an implementation ofhttp.Handlerbacked bywasi:http—enabling us to write idiomatic Go using a language-agnostic WASI interface. - In the
initsection, we set thehandleRequestfunction to handle incoming HTTP requests. - In the
handleRequestfunction, we respond to an HTTP request by printingHello from Go! - The main function is empty, since the component doesn't run like a CLI, but instead runs the
handleRequestfunction when triggered by an HTTP request.
Add a configuration file and Makefile
Go projects use a Makefile to wrap the build steps and a configuration file at .wash/config.yaml to tell wash how to invoke the build.
Create the config file:
mkdir .wash && touch ./.wash/config.yamlAdd the contents below to config.yaml:
dev:
  command: make build

build:
  command: make bindgen build
Create a Makefile at the project root:
all: build

.PHONY: build
build:
	tinygo build -target wasip2 -wit-package ./wit -wit-world hello -o hello.wasm ./

.PHONY: bindgen
bindgen:
	go generate ./...
For more on the Makefile-based build workflow, see the Go Language Guide.
The file src/component.ts uses Hono, a lightweight web framework built on Web Standards. Let's walk through the pieces in depth.
import { Hono } from 'hono';
import { fire } from '@bytecodealliance/jco-std/wasi/0.2.6/http/adapters/hono/server';
The import section brings in the Hono framework and fire from @bytecodealliance/jco-std, a Bytecode Alliance library that adapts Hono to the WASI HTTP incoming handler interface.
const app = new Hono();

app.get('/', (c) => {
  return c.text('Hello from TypeScript!\n');
});

app.notFound((c) => {
  return c.text('Not found\n', 404);
});

fire(app);
We create a Hono app with a route for / and a fallback for unmatched routes. The fire() function wires the Hono app to the Service Worker fetch event listener, which StarlingMonkey (the embedded JavaScript engine) maps to wasi:http/incoming-handler. When a request arrives, Hono routes it and returns the appropriate response.
export { incomingHandler } from '@bytecodealliance/jco-std/wasi/0.2.6/http/adapters/hono/server';This re-export provides the incomingHandler that the Wasm component must export to satisfy the wasi:http/incoming-handler interface declared in the WIT world. The jco-std adapter handles all the conversion between WASI HTTP types and the Web Standard Request/Response objects that Hono uses.
We're looking to add more examples in languages that support Wasm components. If you prefer working in a language that isn't listed here, let us know!
Start a development loop
Now we'll start a development loop that runs the component, watches for modifications to the code, and refreshes when we make changes.
wash devwashYou can run wash dev from anywhere inside your project directory. From outside, you can use the -C flag to target a project directory. See the Command Reference for more information.
Now we can send a request to localhost:8000 with curl (in a new tab), or by visiting the address in our browser.
curl localhost:8000- Rust
- TinyGo
- TypeScript
You should see:
Hello from wasmCloud!Hello from Go!Hello from TypeScript!You can stop the development loop with CTRL+C.
Next steps
In the next section, we'll compile a component to a .wasm binary and publish the artifact to an OCI registry.